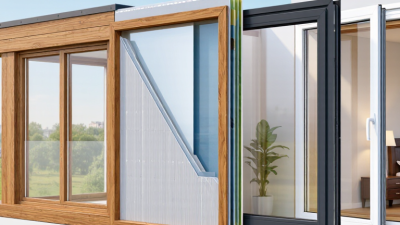
Choosing thermal insulation windows is not just a matter of picking the thickest glass or the highest advertised rating. The right choice depends on climate, window orientation, frame construction, and installation quality. On a cold morning, a poorly sealed sash can leave a faint draft beside the sofa. Small details matter.
Building-science expert Joseph Lstiburek puts it bluntly: “Windows are holes in walls.” That reminder helps explain why careful selection matters. Compare the U-factor, which indicates heat transfer, and the solar heat gain coefficient, which describes how much solar heat enters. Check that the ratings suit your climate and the room’s exposure. Low-emissivity coatings, insulated glass units, and warm-edge spacers can improve performance, but no single feature guarantees comfort. A well-rated window can still disappoint if the frame leaks or the opening is installed poorly.
This guide offers seven practical tips for evaluating thermal insulation windows, from reading product labels to checking seals and installation details. Ask for documented ratings, not just broad claims. Consider condensation risk, daylight, ventilation, and the view you want to preserve. A showroom sample may look convincing; your own winter bedroom is a tougher test. Even careful buyers can overfocus on glass and overlook the frame. That is worth reconsidering before you choose.
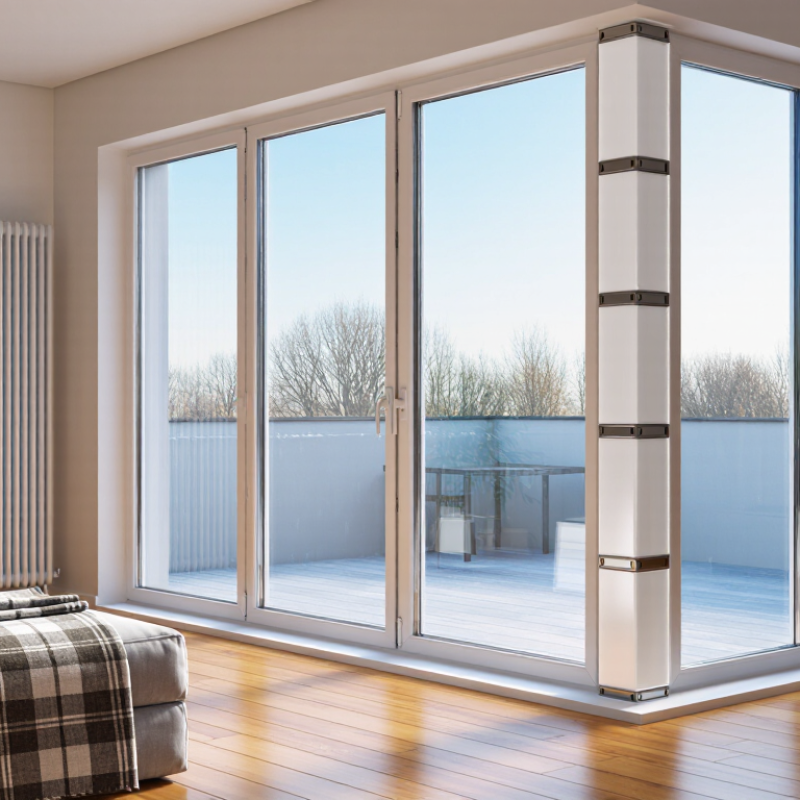
Heat moves through a window by conduction, convection, and radiation. A cold pane can cool nearby air, while heat also escapes through the frame. The U.S. Department of Energy estimates that windows account for 25–30% of residential heating and cooling energy use. That is a meaningful share. Insulation slows heat transfer; it cannot stop it completely. Multiple panes with sealed air or gas spaces limit conduction and convection. Low-emissivity coatings reduce the transfer of radiant heat while still admitting daylight.
When comparing windows, check the whole-window U-factor on the National Fenestration Rating Council label. A lower U-factor means less heat flows through the assembly. The label’s solar heat gain coefficient (SHGC) indicates how much solar heat passes indoors, which matters in sunny rooms. I used to focus on the glass and overlook the frame. That can be a mistake. Even a high-performing window may disappoint if installation leaves a thin air leak around the edge. Worth checking twice. A north-facing room and a sunlit room may also need different balances of heat retention and solar gain.
Typical center-of-glass U-factors by glazing type (W/m²·K). Lower U-factor means less heat transfer through the glass.
Illustrative typical values: actual whole-window performance varies with frame, spacers, gas fill, coatings, and product design. Compare certified whole-window ratings when choosing windows.
Start with local weather. Tip: In cold climates, compare whole-window U-factor, not glass alone; lower values generally mean less heat loss. Tip: In hot, sunny areas, check the solar heat-gain rating and consider shading for each window’s orientation. South- and west-facing rooms can feel very different.
Tip: Match glazing to daily conditions. Low-emissivity coatings may help, but the right choice depends on winter sun, summer heat, and tree cover. Tip: Consider wind and rain exposure; tight frames and careful flashing matter on a blustery wall. Tip: Check condensation risk in humid rooms and cold corners. Better glass cannot fix poor ventilation.
Tip: Inspect existing frames before replacing windows. Sound frames may affect your budget and installation plan, while rot needs attention. Tip: Compare whole-window ratings using consistent test methods, and ask how the window suits local temperatures and your wall construction. Small details count. I would not treat any rating as a promise: shading, air leaks, and workmanship can shift comfort, sometimes more than expected.
| Tip | What to Check | Climate or Home Consideration | Practical Guidance |
|---|---|---|---|
| 1. Compare U-factor | U-factor measures how quickly heat passes through a window; lower values indicate better insulating performance. | Important in cold climates and in homes where winter heat loss is a major concern. | Compare whole-window ratings using the same rating system. In the United States, values are commonly stated in Btu/(h·ft²·°F); local energy-code requirements vary. |
| 2. Match SHGC to sun exposure | Solar Heat Gain Coefficient (SHGC) indicates how much solar heat a window admits; values range from 0 to 1. | Lower SHGC can help limit unwanted solar heat in hot, sunny conditions. Higher SHGC may be useful for selected sun-facing windows in heating-dominated climates. | Consider climate, shading, and window orientation together. A single SHGC target is not ideal for every side of a home. |
| 3. Choose glazing for the local climate | Compare double- and triple-pane units, insulated glazing, and low-emissivity (low-e) coatings. | Triple glazing can improve insulation in very cold conditions, while double glazing may provide a suitable balance in milder climates. | Low-e coatings are designed to reduce radiant heat transfer. Ask which coating configuration is recommended for the window’s orientation and climate. |
| 4. Evaluate the frame material | Frame materials include vinyl, wood, fiberglass, and aluminum; their insulation and maintenance characteristics differ. | Frame performance matters in both heating- and cooling-dominated homes, especially where frames are exposed to extreme temperatures. | Look for thermally improved designs, such as insulated frames or thermal breaks in metal frames. Compare the whole-window rating, not just the center-of-glass value. |
| 5. Check air leakage and weather seals | Air leakage ratings describe how much air passes through a closed window under specified test conditions. | Reducing drafts can improve comfort in windy locations and help limit unwanted outside-air infiltration. | Compare certified air-leakage data where available, and inspect the sash, seals, and locking points. A low U-factor does not by itself guarantee an airtight installation. |
| 6. Account for orientation and shading | Window direction, overhangs, nearby trees, and exterior shades affect sunlight and heat gain. | South-, east-, and west-facing windows can receive different amounts of direct sun depending on hemisphere, season, and site conditions. | Assess each elevation separately. Exterior shading can reduce summer solar gain while allowing useful daylight, but local design conditions should guide the choice. |
| 7. Plan for correct sizing and installation | Installation quality, frame fit, flashing, and perimeter air sealing affect real-world performance. | Older homes, uneven openings, and renovation projects may require additional attention to moisture control and weatherproofing. | Confirm that the window is appropriate for the opening and follow the manufacturer’s installation instructions and local building requirements. Poor installation can undermine the rated performance. |
Tip 1: Compare glass before judging appearance. Double glazing traps an insulating air or gas space; low-emissivity coatings can further limit heat transfer. The U.S. Department of Energy estimates that windows account for 25–30% of residential heating and cooling energy use. Check the National Fenestration Rating Council label for U-factor and solar heat gain coefficient (SHGC). Lower U-factor generally means less heat escapes; SHGC should suit your climate and sun exposure.
Tip 2: Match the frame to the room and weather. Vinyl and fiberglass frames often reduce heat transfer, while metal frames can conduct heat unless they include thermal breaks. Wood insulates well but needs regular care to resist moisture. Compare the whole-window rating, not just the frame material. A good frame cannot fix poorly sealed joints.
Tip 3: Choose a design that seals reliably. Casement windows press against their seals when closed; sliding styles can be easier to operate but may allow more air leakage. Small details matter. Inspect corners, weatherstripping, and drainage paths, then ask how the window will be installed. There is no universal best choice. Even impressive ratings can disappoint if measurements or installation are off, so compare certified ratings with the conditions of your actual home.
Thermal insulation claims mean little without comparable ratings. Check the National Fenestration Rating Council (NFRC) label for U-factor and solar heat gain coefficient (SHGC). A lower U-factor indicates less heat transfer; SHGC shows how much solar heat enters. The right SHGC depends on your climate, window direction, and shading. One number cannot tell the whole story.
The U.S. Department of Energy’s Energy Saver guidance says windows account for about 25–30% of residential heating and cooling energy use. That makes product verification worthwhile. Confirm the exact window configuration carries the listed rating, including its glass and frame options. Look for recognized certification, and compare ratings across similar products—not just sales claims. Small print matters.
Installation is equally important. Follow the manufacturer’s instructions and check that the opening is square, the sill is sealed, and flashing directs water outward. Ask who handles air sealing and how the installer will protect the insulation around the frame. A high-rated window can still leak if gaps remain. I’ve seen specifications get more attention than the rough opening, and that is easy to miss. Verify local requirements before ordering; they can affect acceptable performance and installation details.
Thermal-insulation windows are a long-term purchase, so compare the installed price with realistic energy savings. The U.S. Department of Energy estimates that heat gain and loss through windows account for about 25–30% of residential heating and cooling energy use. That is a national estimate, not a promise for every home. Savings depend on climate, existing windows, installation quality, and how often heating or cooling runs. A careful quote should separate window, labor, disposal, and trim costs.
Tip: Compare whole-window U-factor and solar heat gain ratings, not just glass features. Ask for written estimates for at least two options, then check them against your recent utility bills. A cheaper unit may cost more over time if it leaks air or needs frequent adjustment. Still, higher-priced glazing does not automatically pay back quickly. That estimate is broad.
Maintenance matters, too. Look for accessible weatherstripping and frames suited to local rain, sun, and temperature swings. Ask how seals, hardware, and drainage channels should be inspected, and whether replacement parts are available. Condensation between panes can signal a failed seal; it may reduce clarity before you notice a major change in comfort. Include likely upkeep in your comparison. I would not ignore small drafts, but I would also avoid replacing sound windows without a measured reason.